Line
AutoCAD LINE Command
COMMAND LINE: LINE

DEFAULT KEYBOARD SHORTCUT: L
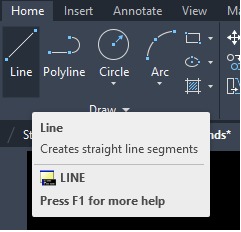
RIBBON: HOME | DRAW TAB | LINE
Three Methods to Define the First Point of a Line
1. Clicking at any random point on the screen.
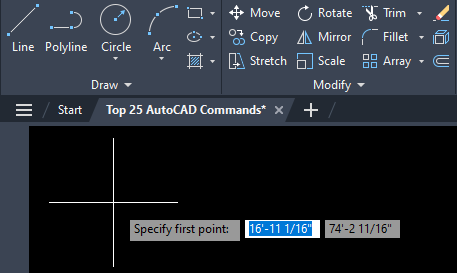
2. Specify the Absolute (X, Y) coordinates of the point.
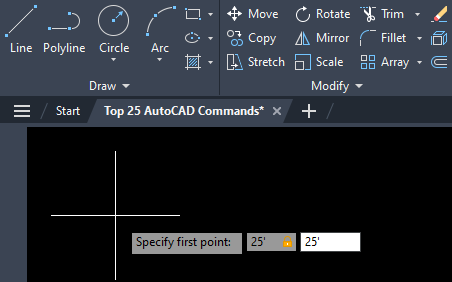
3. Specifying a point on another object in the drawing.
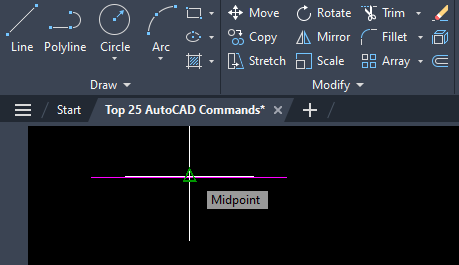
For example, the midpoint of another line, or the center of an arc can be picked as an endpoint of the line you are drawing.
Six Methods to Define the Second Point of a Line
The second point is entered in the Dynamic Input interface.
1. Clicking at any random point on the screen.
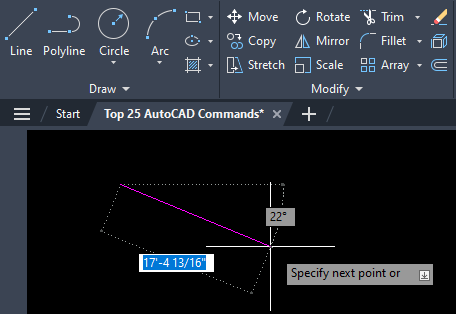
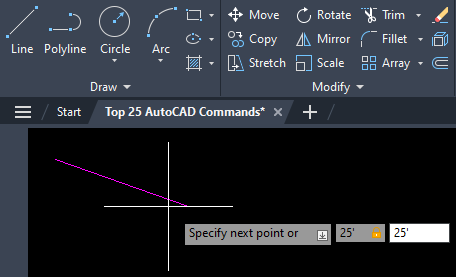
2. Specify the Absolute coordinates of the point.
When specifying Absolute Coordinates, enter # symbol before entering the X coordinate. To move from entering the X coordinate to the Y coordinate, enter a comma after the X coordinate.
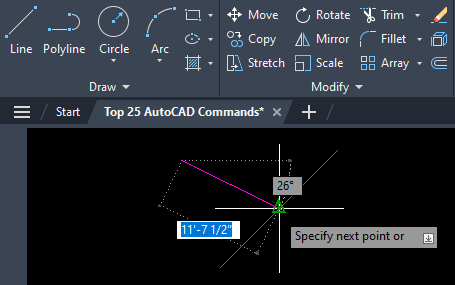
3. Specify a point on another object in the drawing.
In this example, the second point of the line being drawn is the mid point of another line.
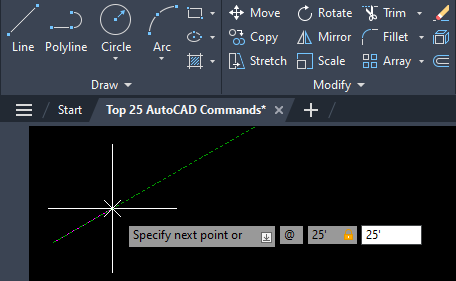
4. Specify the Relative (X, Y) distance from the end of the previous line segment.
In the Dynamic Input interface, after entering the relative X coordinate, enter a comma (,) to enter the relative Y coordinate.
Optionally, enter @ symbol before the X coordinate to indicate Relative Coordinates are being entered. While this should not be necessary as a default setting, AutoCAD will accept the @ symbol as an indication the input in the Dynamic Input interface is Relative Coordinates.
5. Enter a relative distance and angle from the end of the previous line segment.
At the Dynamic Input interface, enter a distance followed by a less then symbol (<) to indicate the second input is an angle, then enter the value of the angle.
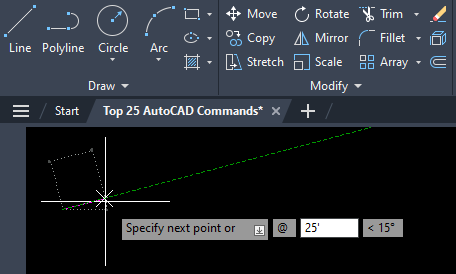
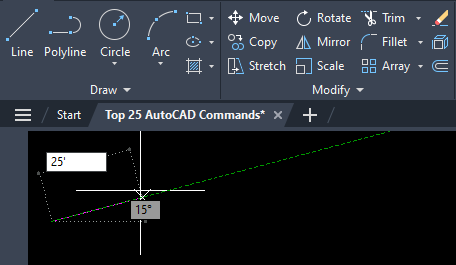
6. Enter a relative distance and place the mouse in the desired angle of the line.
From the first point, place the mouse in the desired direction of the line and enter a distance in the Dynamic Input and a line will be drawn at the angle the mouse is from the original point the distance that is typed in. For example, enter 25’ and a line will be drawn that is 25 feet long at the angle the mouse is in from the first point. This is especially useful when Polar Tracking is turned on.
When the LINE command is used, each individual line segment is its own object and is independent of any other line or arc segment that shares an (X, Y) coordinate at each end of the line. The LINE command remains active and ready to receive input to the next point in the Dynamic Input interface until either the ENTER key or the ESC key is pressed to end the command.
